When you want answers, go to a librarian. They don’t know everything, but they know how to find out about everything. Even in the internet age, librarians have the Google-fu to get the information to get the job done, quickly and accurately. So I shouldn’t have been surprised that librarian Emily already had project plans for making bike panniers when she asked me to help at a Shop by Bike program at the Mountain View Library.
After Dick & I lead a discussion on how to get started shopping by bike (with our bikes as assistants), Emily launched into the craft portion of the workshop. By taking two standard reusable grocery bags and doing some snipping, stitching, gluing and tying, the crafty folks in the group went home with a pair of inexpensive but effective panniers. They turned out pretty impressive for about $5 in materials and 30 minutes of work.
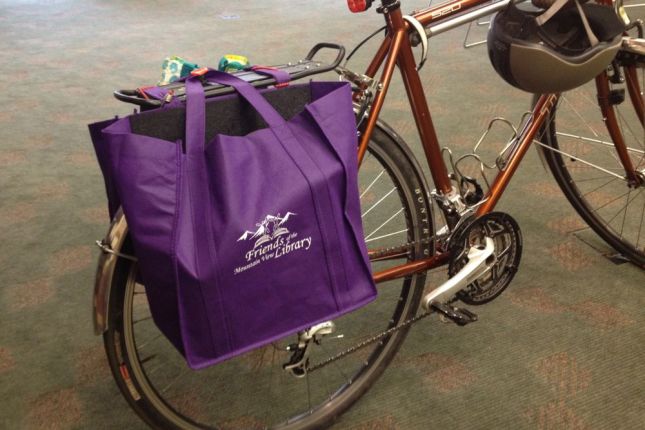
Emily shared her instructions with me so that I could share them with you. The finished result will fit almost any bike with a standard rear rack with a platform top and a supporting frame on both sides of the wheel.
Materials & Equipment
- 2 reusable fabric grocery bags
- 2 pieces of flexible but sturdy plastic, cut to fit upright inside the bags
- Scissors, straight pins, tape measure or ruler (optional)
- Sewing machine
- Hot glue gun
- 1 or 2 small bungee cords
Step by Step Instructions (click on photos for close-ups)
There are lots of suggestions for modifying or improving this project on this bike forum.
Have you ever crafted your own bike panniers or bags? If so, how did you do it? What would you change in your next iteration of the design?